Do you want to know how to make a hanging indent on Google Docs? If yes, then you are in the right place.
Google Docs has become quite popular these days. It is used by millions of people for various purposes. One of the many useful features offered by Google Docs is hanging indent.
A hanging indent is when the subsequent and second lines of your text are indented to the right so that the first line stands out. This particular feature is used in the works cited bibliography or references page. If you want to know how to create a hanging indent in Google Docs, we can help you with it.
In this post, we have explained each of the steps in detail. All you have to do is follow the steps correctly and you will know how to do hanging indent on Google Slide. The steps are simple and easy to follow.
Steps to implement hanging indent on Google docs:
- Go to Google docs
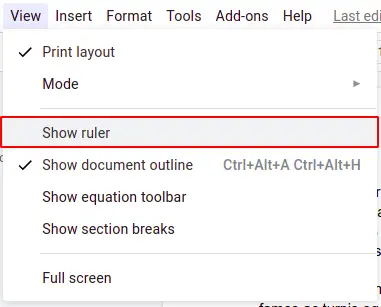
- In Google Docs, go to View > Show ruler and make sure it is ticked
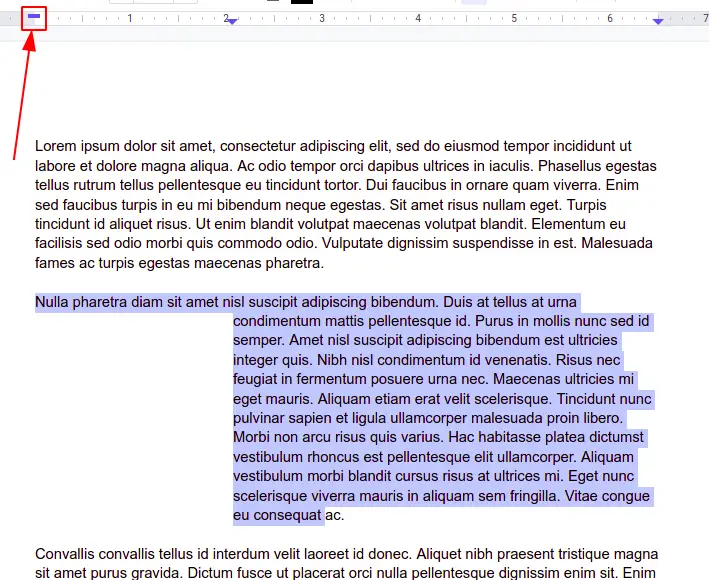
- Now, select the text you want to indent. You can highlight one or multiple paragraphs.
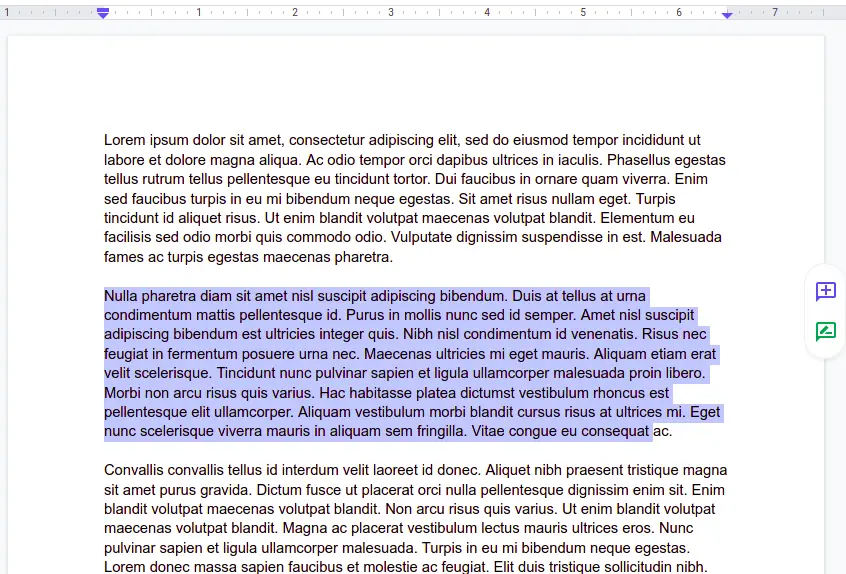
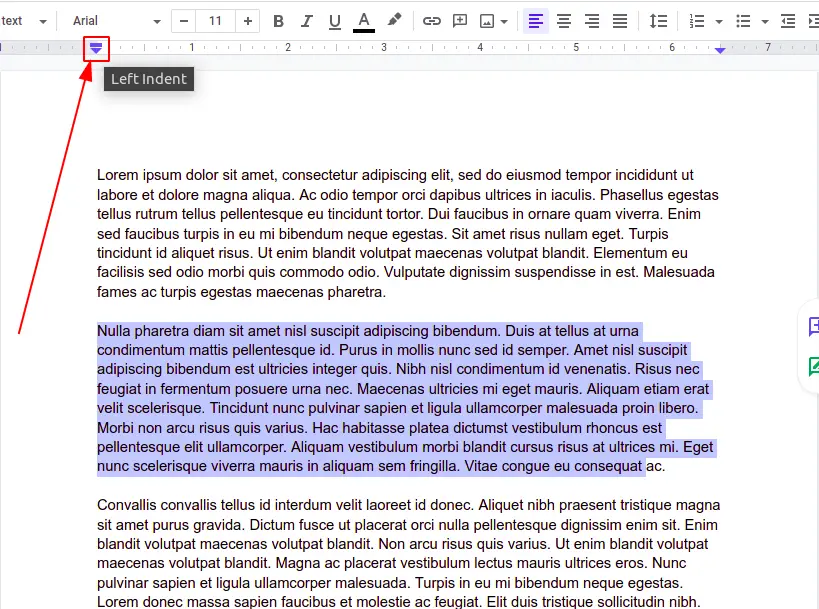
- Now, drag the left indent marker to the right, stopping wherever you want your hanging indent to begin.

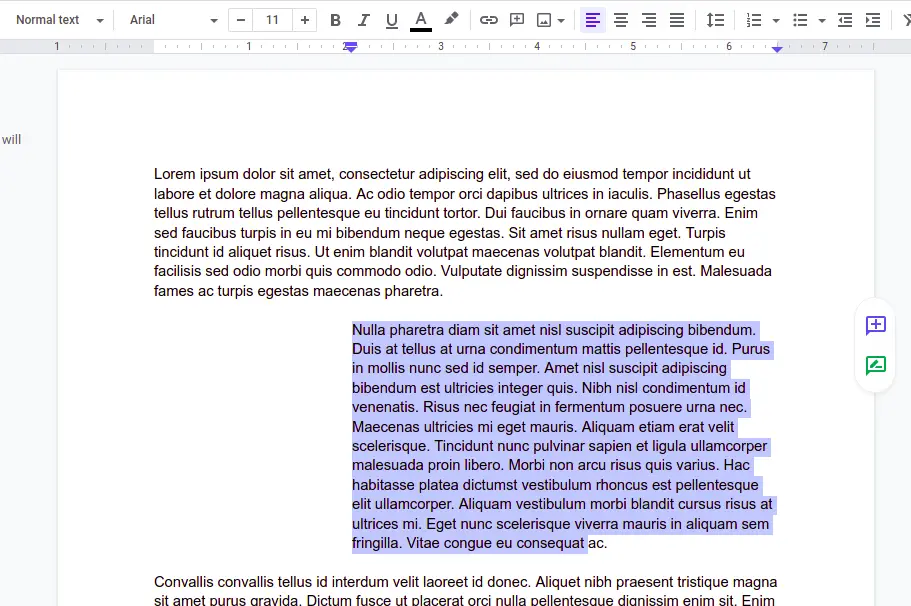
- Now, drag the First Line Indent marker (blue rectangle) back to the left margin.